Using docker-buildx for Multi-architecture Containers
When you build a container image, it’s typically only built for one platform (linux) and one architecture (amd64).
As the Internet of Things continues to grow, the demand for more arm images increased as well.
Traditionally, in order to produce an arm image, you need an arm device to do the build on.
As a result, most projects wind up missing arm support.
BuildKit provides emulation capabilities that support multi-architecture builds.
With BuildKit, you build container images across multiple architectures concurrently.
This core utility backs docker buildx, a multi-architecture build utility for docker.
In this post, I’ll discuss why you should produce multi-architecture container images and demonstrate how to use docker buildx to do it.
Why build multiple architectures?
There are many good reasons why you should build multi-architecture images for your project.
One of the biggest being that it improves your users experience.
As someone who works across both amd64 and arm64, I often struggle to find images supported across both architectures.
As a result, I wind up needing to create my own or rebuilding another to be able to run the system on my cluster.
This makes it more difficult to get started with projects.
Instead of running that kubectl apply -f command I found on the web, I first need to consider:
- Do the referenced images run on
arm64? - If they don’t, has someone already ported them?
- If someone hasn’t ported them, has anyone requested support?
- If someone hasn’t request support, what happens when I try to compile them?
And the list of goes on. By cross compiling images and leveraging manifest lists, you can create a much better experience for developers on a different architectures.
Working with buildx
In order to get started with buildx, you’ll need to install the latest edge version of Docker.
Once the edge version of Docker has been installed, you’ll be able to interact with the buildx command.
The first thing you will want to do is create a context for your project.
This acts as a workspace for your current build states.
$ docker buildx create --name ${PROJECT}Once the context has been created, you’ll want to switch to using it.
You can either use the --use option on the create command or explicitly switch contexts using use.
$ docker buildx use ${PROJECT}After activating the environment, you’re ready to build your image across multiple architectures.
Below, I have provided a simple build command.
This will cause 3 builds to happen: one for linux/amd64, one for linux/arm64, and one for linux/arm/v7.
In addition to that, by providing the -t option, buildx will produce a manifest list containing the layer references for each corresponding architectures.
$ docker buildx build --platform linux/amd64,linux/arm64,linux/arm/v7 -t ${PROJECT}:${VERSION} .What this means is that when a user wants to run your project on an ARM system, they no longer need to reference an architecture specific image or tag.
Instead, they are able to use the same image ref and the same tag that they would use on a typical desktop machine.
Once you’re satisfied with your build, you can append the --push option to the buildx command to push the images and manifest list upstream.
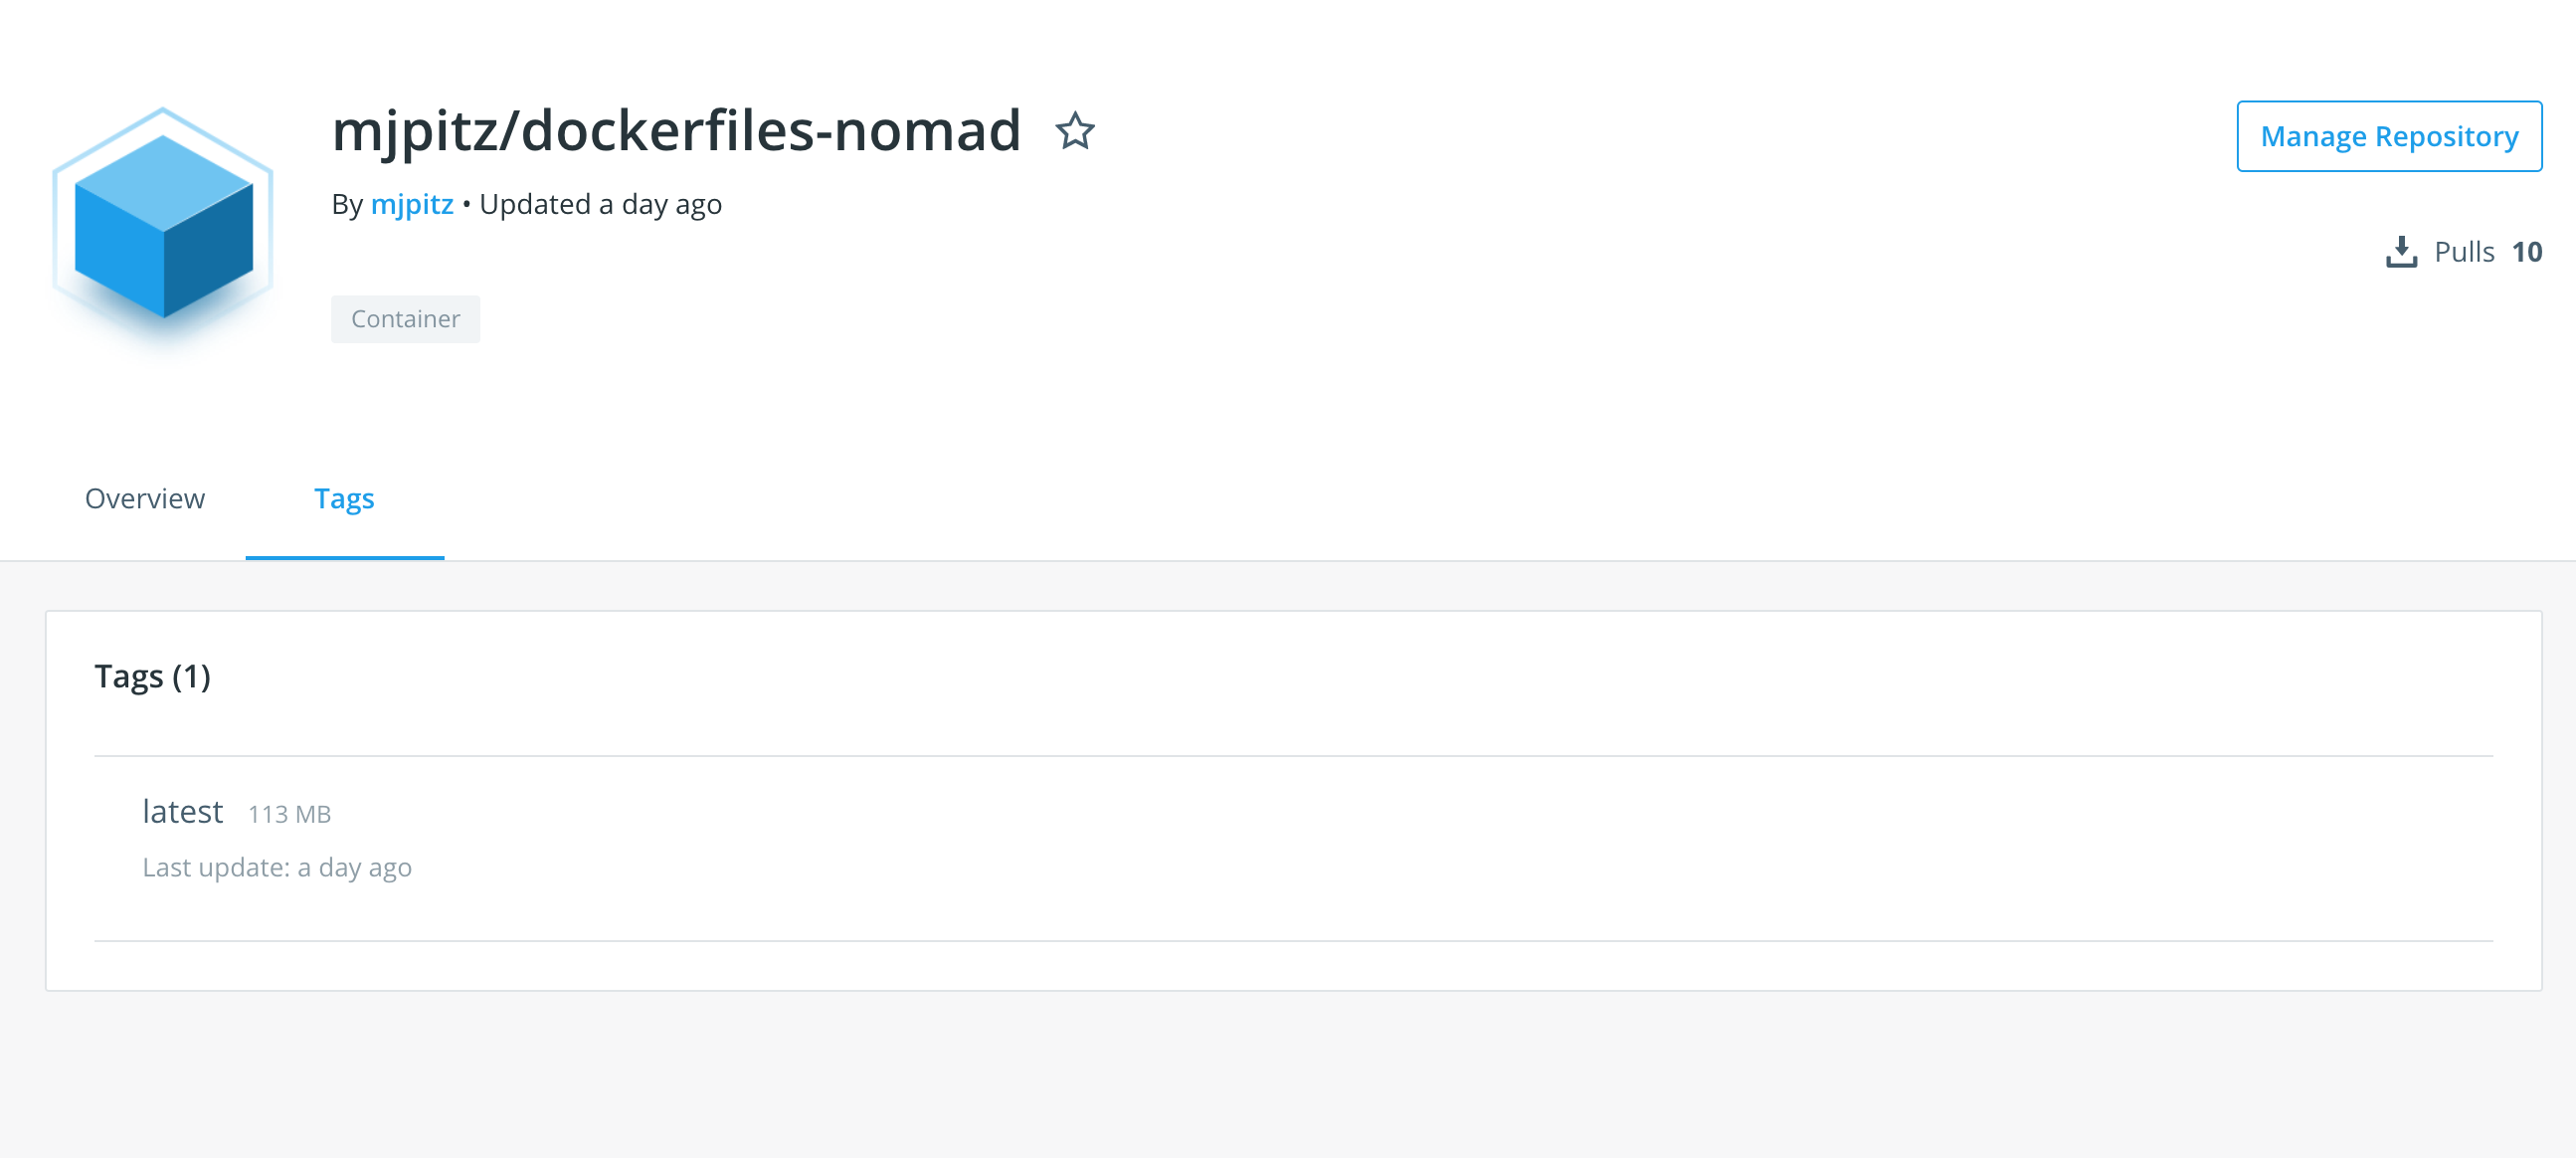
$ docker buildx build --platform linux/amd64,linux/arm64,linux/arm/v7 -t ${PROJECT}:${VERSION} . --pushAfter your images have been successfully pushed, you can see the supported architectures on the tags page of the docker repository.
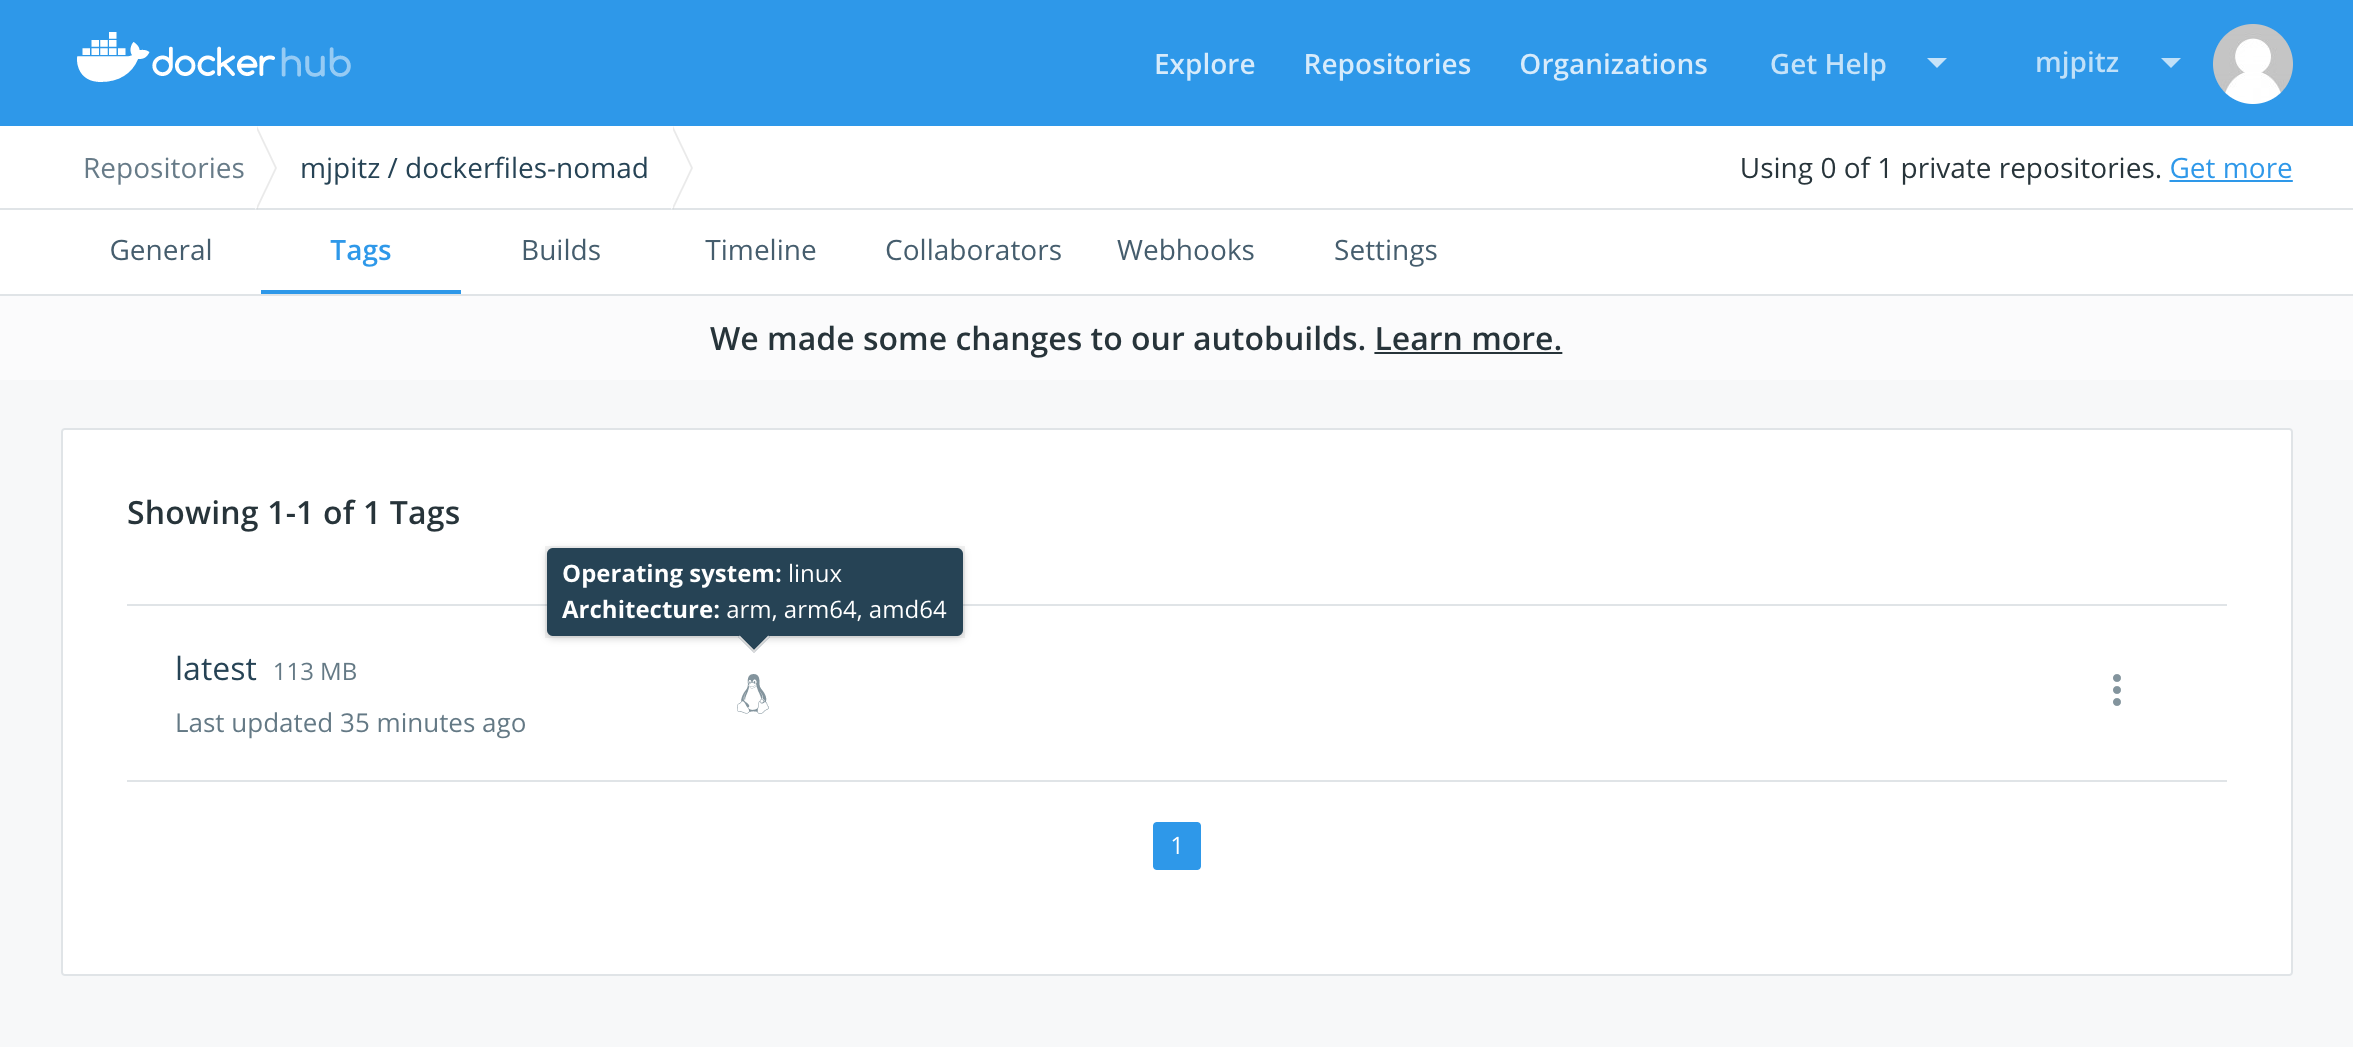
One thing that I’ve found frustrating from hub.docker.com is that they don’t do a good job calling out to the supported architectures on the public tags page. This means that image producers need to call out to this support in their README files. At least for now.